Ladder Logic Programming Tutorial STEP 2
![]()
![]()
Ladder Logic Programming Tutorial STEP 2
|
|
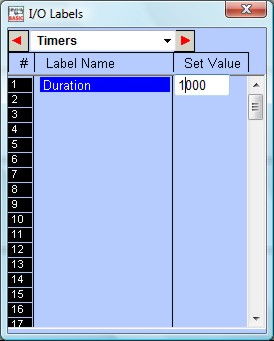 |
We are now left to define the sequencer, "Seq1". The
sequencer is an extremely useful device for implementing sequencing logic found in many
automated equipment. i-TRiLOGI supports 8 sequencers of 32 steps each. Each sequencer
requires a "Step counter" to keep track of the current step sequence.
The first 8 counters in the counter table double as the step counters for the 8
sequencers. These sequencers must be named "Seq1" to "Seq8" if they
are to be used, i.e. Counter #1 to be named as "Seq1", Counter #2 as
"Seq2", etc. However, any counter not used as sequencer may assume any other
name (up to a maximum of 10 characters) if they are used as ordinary counters.
If you are at the "Timers" table, pressing the right cursor key again will bring up the "Counters" table. Enter the name: "Seq1" at the label column for Counter #1. Press <Enter> and the text entry field will be opened at the "Set Value" column. For now, let's enter a preset value of "4" for "Seq1".
We have now completed defining the I/Os, timers and counters. Press the <ESC> key to close the counter or other tables. Note that not all labels need to be defined before programming. You may create the label names any timer during circuit creation by pressing hotkeys <F2>.
Back to Assignment ![]()
![]() Go To STEP3
Go To STEP3